It is difficult to describe a typical workflow in the creation of these images, since I follow different processes for different final effects, making each image a unique journey. Like any artist I use tools and techniques that are familiar to me but may not be to you. I can offer a couple of examples to give you an idea of how those tools work, and a feeling for what goes into the creation of an image.
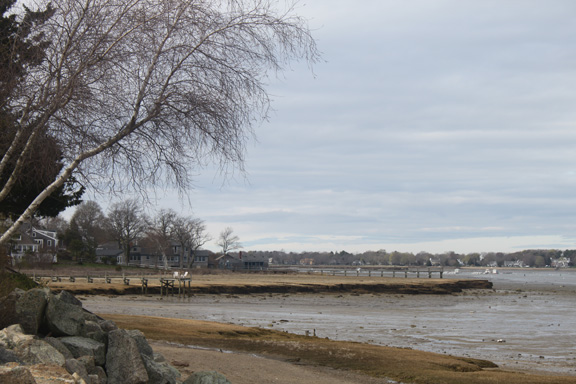
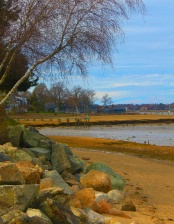
Most of my images begin as photographs I take with a digital camera (currently a Canon T1i) or scan from a negative in a library of photos I have taken in the past with a succession of Pentaxes. Because they are photographs I have taken myself, I own the copyrights. In this case, I took a photo on a drab, shadowless day on Ellison Beach, a small town beach on Shipyard Lane in Duxbury, MA.
The first step in the process was to crop and size the photo to a more engaging composition and a standard aspect ratio, so that it can be framed in off-the-shelf frame sizes. This will reduce the cost for production of a finished presentation. The colors were then adjusted, and the color saturation enhanced. I introduced a tiny focus of color at the center by painting the white chairs red and green using Photoshop brushes and palette. Contrast was enhanced at this point, as well.
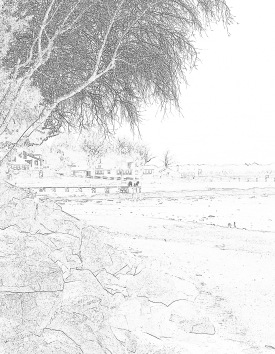
A black and white sketch-like image was prepared with a three-layer technique using Photoshop’s Minimum filter in Color Dodge mode, and then sharpened using the High Pass filter in Overlay mode. The Brightness/Contrast function was used to eliminate any stray areas of gray. Several tutorials on these techniques are available on You Tube, so I will not elaborate here. (e.g.: Pencil Sketch, Sharpening)
This image was set aside to be used later to provide fine detail and sharpness in the overhanging branches and rocky seawall in the final print.
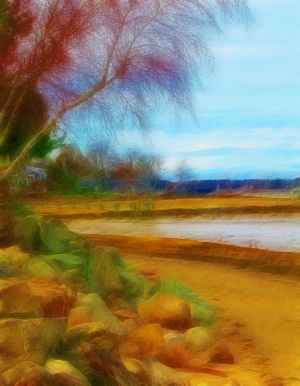
The color-corrected version was put through a Photoshop add-on filter called Fractalius. This is a versatile filter that can do all sorts of strange and wonderful things. In this case it was used to enhance the color saturation in a balanced manner, bring out come detail in an otherwise boring sky, and add some texture and brushstroke-like elements. Together these things gave the image an overall watercolor-like feel, but they destroyed the fine detail. The trees look like cotton-candy and the rocky rubble of the seawall is a messy jumble.
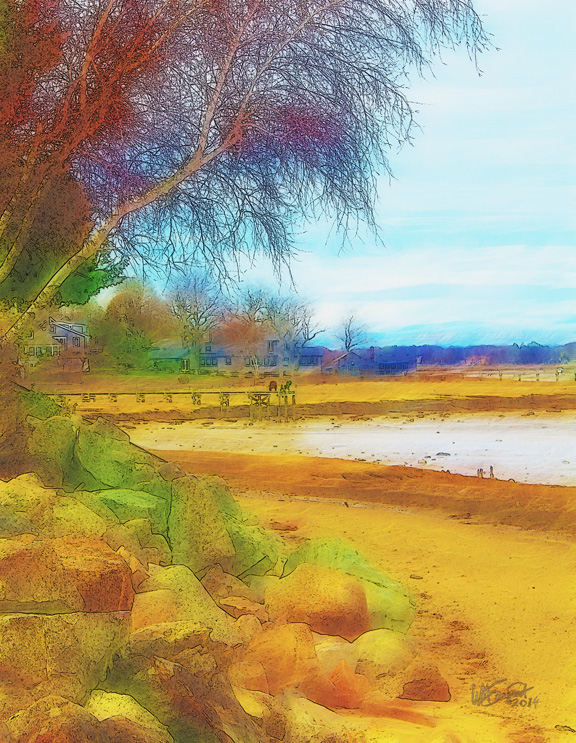
The black and white pencil-sketch version was layered over the Fractalius version and made partially transparent. The details of each layer were carefully aligned with the other until they appeared as a single image with both the soft brushstrokes of Fractalius and the sharp detail of the pencil sketch. The layers are then combined (“flattened”) into a single layer. After a final round of color, contrast, and brightness adjustments, the image was “signed in the plate” and saved. It is ready for upload for giclee printing and framing.
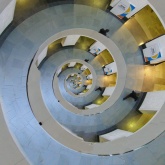
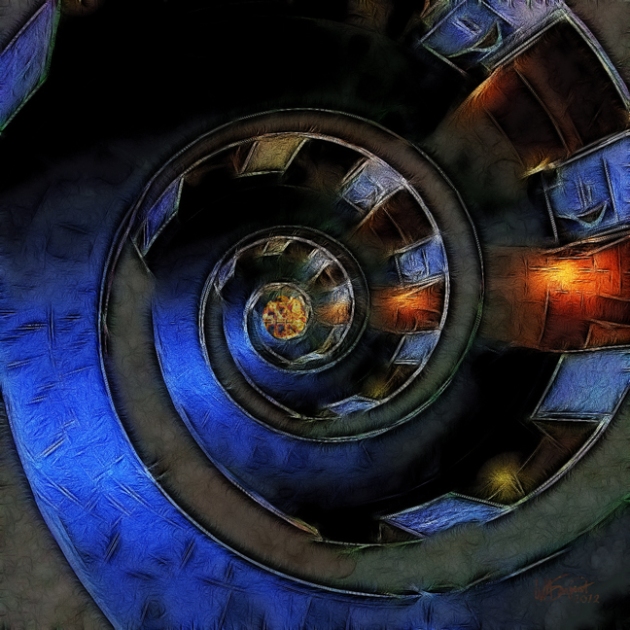
That is the basic workflow that underlies most of my images, except that the Fractalius filter is not a constant. I use many filters to achieve specific effects. For example, this picture taken from the second balcony of the Hines Auditorium rotunda in Boston, after some jiggering to round the circle and square the image as a whole, was subjected to a “Droste” filter, which converts circles to endlessly recursive spirals.
The resulting image is interesting in itself, though the colors are rather bland. This new image was then put through a process similar to the one described above, including even the Fractalius filter. The colors were darkened and oversaturated. Overall contrast was increased. Details of the floor tiles and the runes on the columns were sharpened. A fire pit was pasted over the center of the spiral. The result is a mysterious, haunting image:
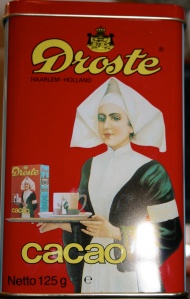 The Droste filter is named after Droste Cacoa, a product of a Dutch chocolate maker whose tin at one time featured the image of a woman holding a box of cocoa featuring an image of a woman holding a box of cocoa featuring…and so on in a presumably endless series.
Software makers call some the programming tools that alter digital images “filters”. I don’t know why. Filters affect their changes on broad selections of the image or on the entire image. Another class of tools we use are “brushes”, which paint changes onto the image the way you might do it with a paintbrush. Other aspects the image can be changed in the image editor. Things like cropping, rotation, contrast, and sharpness or blur are easy to control, as are the many qualities of color: tone, hue, vibrance, saturation, etc. There are other image qualities that only a digital artist is likely to think much about, like pixel density, white balance, and gamma. If you like, you can enlarge the image until its individual pixels appear; you can then edit the pixels one by one. It is this nearly infinite ability to alter a picture, guided by the artist’s aesthetic sense, that sets digital imaging apart. It is there that the art lies.
Is this an art? You bet it is! In college, years ago, a professor of theater told my class, “A comedian is not someone who opens a funny door, but someone who opens a door…funnily.” It is not simply using these tools that creates art any more that using a camera or paintbrush does. But with vision and personality an artist can create art with them, just as other artists do with paintbrush or chisel, or by opening an ordinary door. Sometimes when I show my work people are interested until they hear, “it’s a giclée print of an altered digital photograph.” At that point you can almost hear their minds slam shut, and they sidle away. They show interest in the image until they learn what tools were used to make it, at which point they reflexively eliminate it from any consideration as “real art”. Of course not everything done in Photoshop is art, but you will find some of it is great art indeed, if you can be open to the creator’s intent and skill.
Digital imaging and fine art photography are both arts, though very different ones which ought not be confused with one another. For this reason I refer to my work as Digital Imaging rather than Digitally Altered Photography, to emphasize that distinction. In galleries and juried art venues today digital imaging is the poor country cousin, not sufficiently photographic to qualify in that category, and certainly not qualified as painting, but having no category of its own. Actually, it is closest to printmaking, since there is no original physical artwork, and multiple copies can be made. Eventually it will be seen for what it is– a new and vibrant art form all its own.
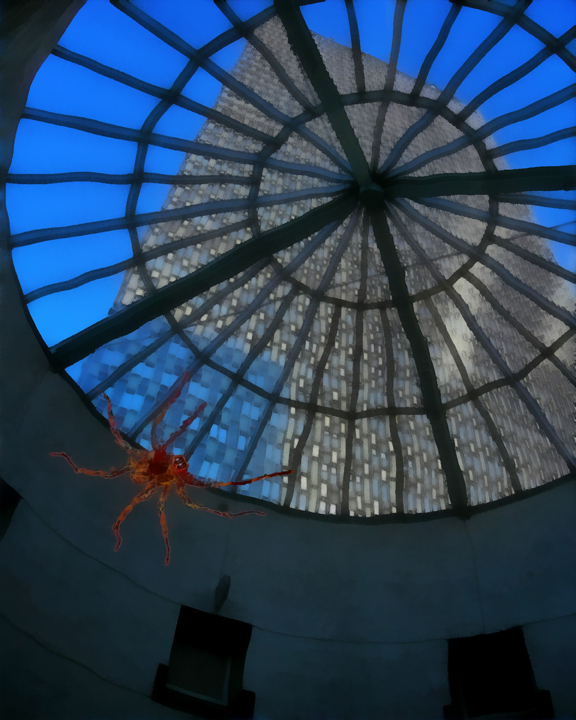
Incidentally, that dark fiery colonnade is what you see when you look down from the second balcony in the Hines Auditorium rotunda. When you look up, through the dome you can see the Prudential tower next door:
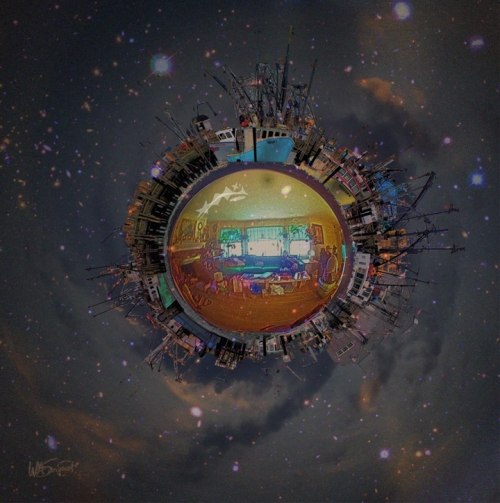
Sometimes the journeys are more radical still, like this one requiring the transport of Macmillan Pier in Provincetown into outer space:

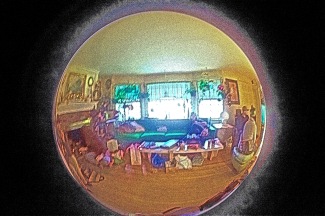 A panorama of the Provincetown, MA harbor was created by stitching together three separate photographs. It was then subjected to a process like the one described to bring out color and line. The panorama was squashed into a square and turned upside-down. The bitmap coordinates in Photoshop were changed from Cartesian (normal) to Polar (circular, and a little weird). The resulting planetoid image was pasted onto a very transparent sunset in polar coordinates, and all of that pasted onto a Cartesian starfield, with some random noise added to the periphery for no better reason than I liked it there. A circular fisheye image of my living room on Christmas morning, after getting its own treatment, was pasted to the middle and decorated with some highlights and flare that suggest a glass globe. Voilà—My Home Planet:
So there you have it, a wonderful wordy whirlwind wander through my little kingdom on the continent of digital imaging. Want to see more? Check out my photostream on Flickr or my artist website on Fine Art America, where you can also by high-quality giclee prints and tchotchkes based on my art. You can also learn a lot about how I think about art and life from my blog posts here on WordPress, which are archived in the sidebar on the left at the top of this page. You can join me on my website, coldbrook-gallery.com.


You must be logged in to post a comment.